A Complete Guide to the Roof Repair Process
Repairing a roof is a critical task that can prevent more extensive damage to your home and save you money in the long run. The roof repair process involves identifying the problem, choosing the right materials, and performing the repair safely and effectively. Here is a complete guide to the roof repair process, covering everything from preparation to final inspection.
Step--Step Guide to the Roof Repair Process
1. Initial Roof Inspection
Identify Visible Damage: Begin visually inspecting your roof from the ground using binoculars. Look for missing, damaged, or curled shingles, rusted or damaged flashing, or debris buildup.
Check Inside the Attic: Examine the attic for signs of water damage, such as stains, mold, mildew, or leaks.
Assess After Weather Events: Inspect your roof after heavy rain, wind, or hailstorms to identify any storm damage.
Consider Professional Help: If you are uncomfortable doing an inspection or if the damage is extensive, hire a professional roofer for a thorough inspection.
2. Determine the Type and Extent of Damage
Types of Roof Damage: Common types include missing or damaged shingles, cracked flashing, leaks, sagging, and moss or algae growth.
Extent of Damage: Determine if the damage is localized or widespread. Minor repairs, such as replacing a few shingles or fixing small leaks, can often be handled a DIY enthusiast, while extensive damage may require professional repair or replacement.
3. Decide on DIY vs. Professional Repair
DIY Repairs: Suitable for small, manageable tasks like replacing a few shingles, sealing small leaks, or fixing flashing.
Professional Repairs: Necessary for large leaks, structural damage, severe storm damage, or when the roof’s age suggests replacement might be more cost-effective.
4. Gather Tools and Materials
Tools Needed: Hammer, pry bar, roofing nails, utility knife, roofing adhesive or sealant, roofing tar, safety gear (gloves, harness, non-slip shoes), ladder, and a caulk gun.
Materials Needed: Replacement shingles or tiles, flashing, underlayment, roof cement, roofing felt, and drip edge, depending on the type of repair.
5. Ensure Safety Measures
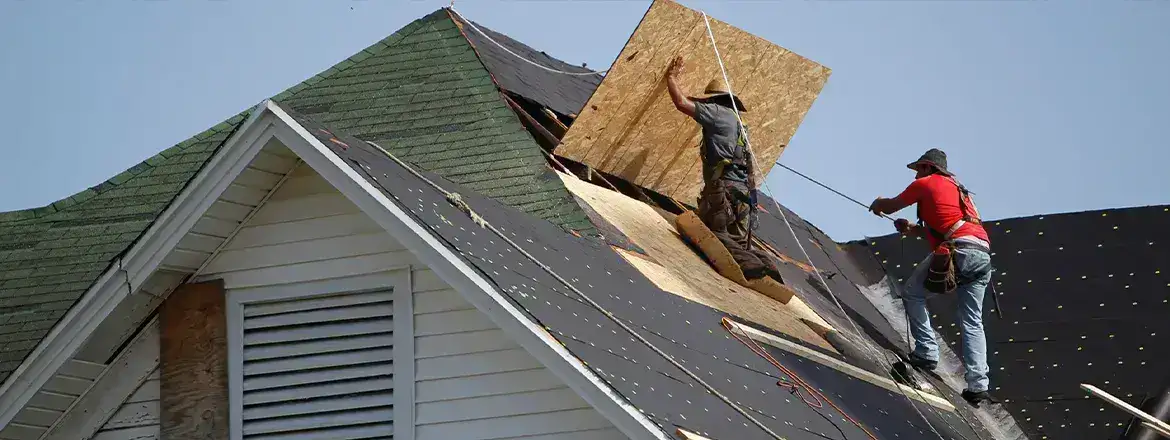
Use Proper Safety Gear: Always wear gloves, non-slip shoes, and a safety harness when working on a roof.
Stabilize the Ladder: Ensure your ladder is on stable ground and have someone hold it for added safety.
Check Weather Conditions: Work on the roof during dry, calm weather to avoid slipping and to ensure sealants and adhesives cure properly.
6. Perform the Repair
Replacing Damaged Shingles:
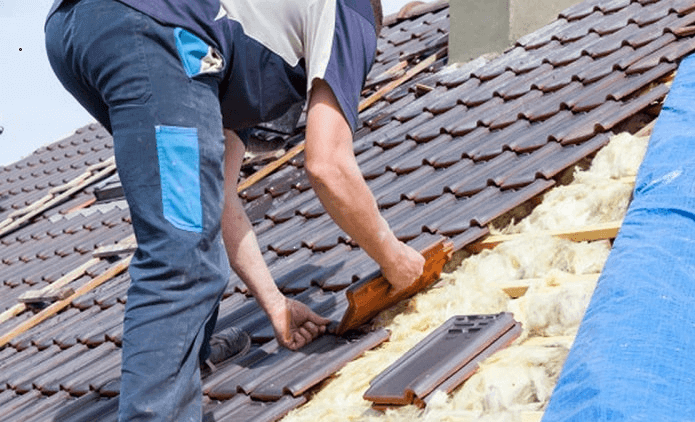
Lift Adjacent Shingles: Use a pry bar to lift the shingles above the damaged one and expose the nails.
Remove Nails and Damaged Shingle: Carefully remove the nails holding the damaged shingle and slide it out.
Install Replacement Shingle: Align the new shingle with the existing ones and secure it with roofing nails.
Seal Edges: Apply roofing adhesive under the corners of the new shingle to secure it.
Fixing Roof Leaks:
Locate the Leak: Identify the source of the leak tracing water stains in the attic or ceiling back to the roof.
Replace Damaged Materials: Remove damaged shingles, underlayment, or flashing around the leak.
Install New Materials: Install new shingles, underlayment, or flashing as needed, ensuring a watertight seal.
Seal Joints: Use roofing cement or caulk to seal around the edges and joints to prevent water intrusion.
Repairing Flashing:
Inspect Flashing: Check the flashing around chimneys, vents, and skylights for cracks or gaps.
Remove Old Flashing: Carefully remove the old flashing using a pry bar, being cautious not to damage surrounding materials.
Install New Flashing: Cut and bend new flashing to fit, then nail it securely and seal edges with roofing cement or caulk.
Addressing Sagging or Structural Issues:
Assess the Extent of Sagging: Determine if the sagging is due to a weakened roof deck, damaged rafters, or trusses.
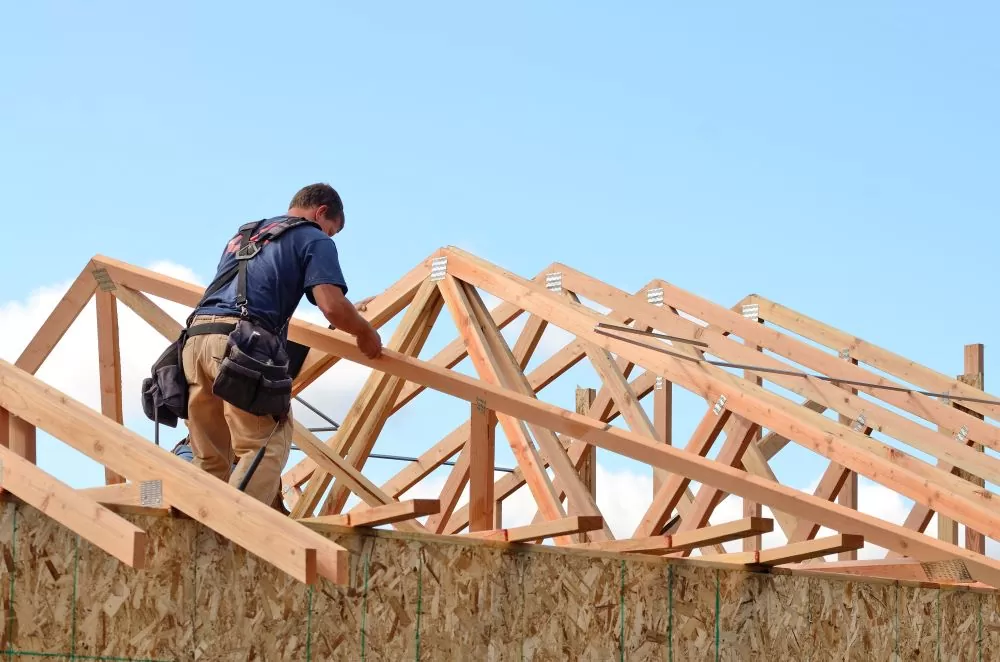
Reinforce Roof Structure: Reinforce damaged rafters or trusses with additional wood support or replace them entirely if severely damaged.
Install New Roof Decking: Replace any rotted or damaged roof decking with new plywood or other appropriate materials.
7. Check and Reinforce Roof Ventilation
Inspect Roof Vents: Ensure roof vents are clear of debris and functioning properly to prevent moisture buildup and extend roof lifespan.
Add Additional Ventilation: Consider adding more vents or upgrading existing ones to improve airflow and reduce the risk of heat or moisture damage.
8. Apply Roof Coating or Sealant
Choose the Right Coating: Select a reflective or waterproof coating that suits your roof material (e.g., asphalt, metal, flat roof).
Apply Evenly: Use a roller or brush to apply the coating evenly, covering all seams and edges. Follow manufacturer instructions for proper application and curing times.
9. Clean Up the Work Area
Remove Debris: Clear the roof and surrounding areas of all debris, old shingles, nails, and unused materials.
Dispose of Waste Properly: Dispose of damaged materials according to local regulations.
10. Conduct a Final Inspection
Check All Repairs: Ensure all repairs are properly sealed, aligned, and secure. Check for any remaining gaps or loose materials.
Test for Leaks: Spray the roof with a hose or wait for the next rain to confirm that all leaks have been properly sealed.
11. Perform Regular Maintenance
Schedule Regular Inspections: Continue regular roof inspections (at least twice a year) to identify and address any future issues early.
Maintain Gutters and Downspouts: Keep gutters and downspouts clear of debris to ensure proper drainage and prevent water damage.
Tips for Successful Roof Repair
Work with High-Quality Materials: Use high-quality roofing materials and adhesives to ensure long-lasting repairs.
Follow Manufacturer Instructions: Adhere to manufacturer instructions for all materials, particularly roofing sealants and adhesives, to ensure proper use and curing.
Don’t Ignore Small Issues: Address minor roof problems promptly to prevent them from escalating into more significant and costly issues.
Hire Professionals When Needed: If the damage is extensive or you’re unsure about the repair process, it’s always best to hire a professional roofing contractor to ensure the job is done correctly and safely.
When to Consider Roof Replacement Instead of Repair
Age of the Roof: If your roof is approaching the end of its expected lifespan (typically 20-30 years for asphalt shingles), it may be more cost-effective to replace it rather than repair it repeatedly.
Extent of Damage: If more than 25-30% of the roof is damaged, or if there is significant structural damage, a full roof replacement may be necessary.
Frequent Repairs Needed: If you find yourself frequently repairing the roof, it may be time to consider a replacement for a more permanent solution.
Conclusion: Be Proactive About Roof Care
Proactive roof maintenance and prompt repair of damage are key to extending the life of your roof and preventing costly repairs. By following this guide, homeowners can confidently assess, repair, and maintain their roofs, ensuring their home remains protected from the elements.
If you have specific questions about a type of roof repair or need more detailed guidance, feel free to ask!

Roof Restoration Canberra
Giralang, ACT 2617 Australia
Phone Number: (02) 6171 6119
Business Email: sales@roofrestorationcanberra.com
Website: https://roofrestorationcanberra.com/
Map: https://goo.gl/maps/H44Hnf2ugxaHYmEC8
Social media links:
https://www.facebook.com/Roof-Restoration-Canberra-904886509628012/
https://twitter.com/RooferCanberra


